The basic sheet pan never ceases to amaze me. It’s a kitchen essential I couldn’t live without and continues to revolutionize the way I prepare meals for my family. Yes, it’s great for one pan meals (hands-off cooking and simple clean up, sign me up!) but it can also do some pretty unique stuff like serve up pancakes for a crowd, and drum roll please…quesadillas!
I know what you’re thinking, quesadillas are easy enough to make – a hot pan, a tortilla stuffed with goodness, flip and enjoy. But, what if you need to feed 4 (or more) people? It’s nearly impossible to get that many warm quesadillas on the table at one time. Enter sheet pan quesadillas.
How it Works
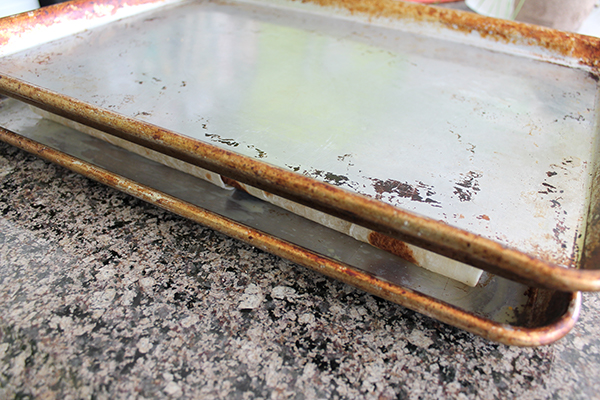
Using this sheet pan method, you’re basically creating a giant quesadilla press that warms the quesadillas through and melts the cheese while crisping up the outside. You’ll need:
- 2 standard-sized sheet pans (approximately 9x13)
- a little butter or oil
- large tortillas
- fillings and toppings of choice
Sheet pan quesadillas are easily customizable based on what you have in your kitchen. Follow the general steps outlined below but mix and match the fillings and toppings – it’s a great way to empty out the fridge at the end of the week! If your family doesn’t agree on the fillings, turn it into a quesadilla bar and let them fill their own section of the quesadilla with toppings of their choice (just remember who put what where when you go to slice and serve).
Serve up quesadillas for a crowd with this mind-blowing technique - sheet pan quesadillas! #kitchenhack #saslife Click To Tweet1. Pre-heat oven to 425ºF and brush a sheet pan with a little melted butter or olive oil.
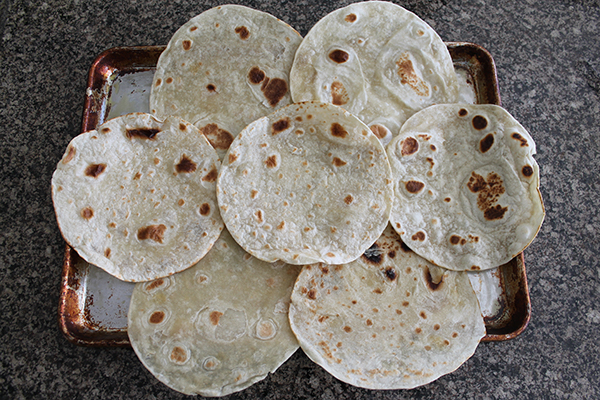
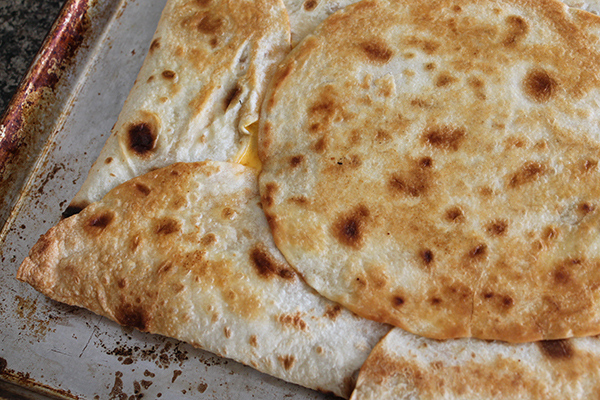
2. Arrange 6 large tortillas around the perimeter of the sheet pan so that half of each tortilla is hanging over the edge of the pan (2 on each long side and 1 on each end). Place 1 tortilla in the center of the pan so the entire bottom of the sheet pan is covered.
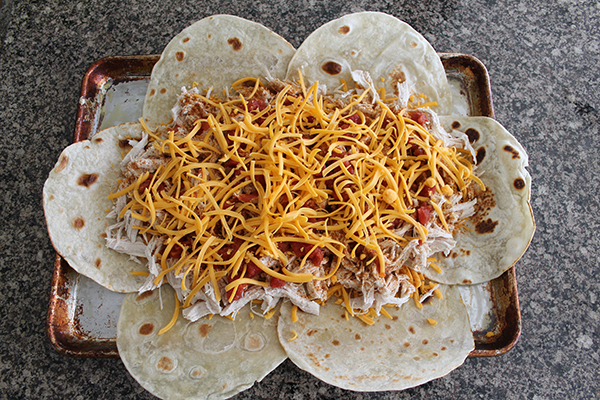
3. Sprinkle with shredded cheese and fillings of choice and top with a little more shredded cheese.
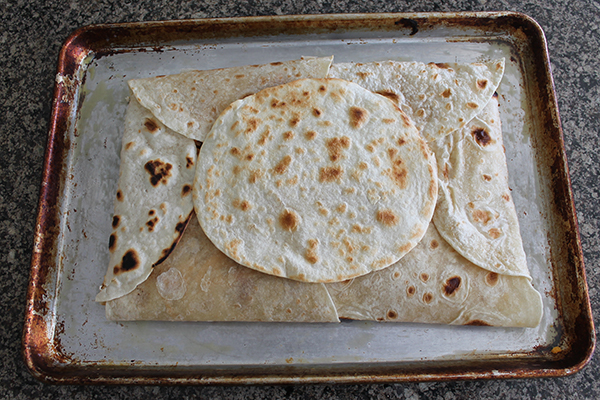
4. Fold tortillas hanging over the edges in half to cover the filling and place 1 additional tortilla over the center to cover the filling entirely.
5. Brush the top of the tortillas with a little more melted butter or olive oil and place the bottom of a second sheet pan on top of the tortillas and press down firmly to flatten.
6. Bake for 20-25 minutes or until tortillas are crispy and cheese has melted.
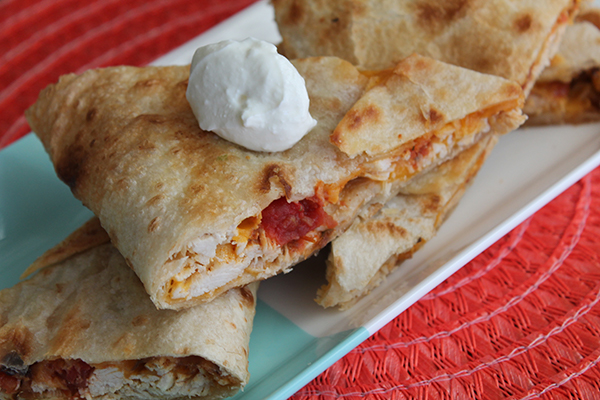
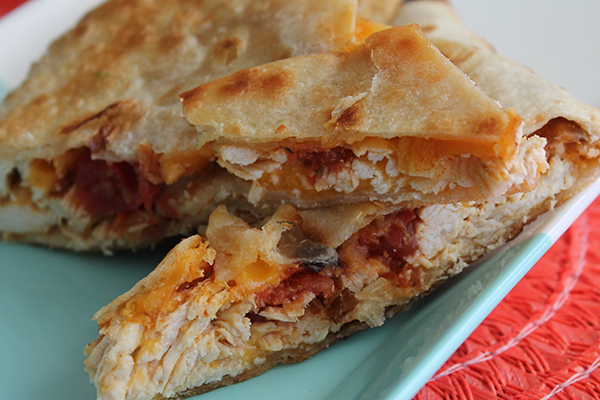
7. Slice into squares or triangles and add toppings of choice.
The Tortillas

You can use flour tortillas (whole wheat preferably – the dietitian in me 😉) or for a gluten-free option, corn tortillas. If using corn tortillas, try to find ones that say “soft” on the label so they’re less likely to crack or break when folding.
Regardless of the type of tortilla you choose, the most important thing to consider is the size. Choose the larger, burrito sized tortillas so they can easily overlap and cover the sheet pan. If you only have smaller ones, just use more of them so the pan still gets covered completely and your fillings don’t escape.
The Fillings
Like I mentioned earlier, this recipe is super customizable and flexible. Don’t worry about following the recipe to a tee or measuring every little ingredient. Simply fill up your quesadilla with whatever sounds good to you and add some cheese to help glue everything together; that’s it!
If you have leftover rice and beans, throw them in. If you have a bag of frozen corn hiding in the back of your freezer, throw that in too. If you’re vegetarian, skip the cooked chicken/turkey/beef and opt for lentils or beans instead. I’ve never had a bad quesadilla, so the filling combinations truly are endless!
The Toppings
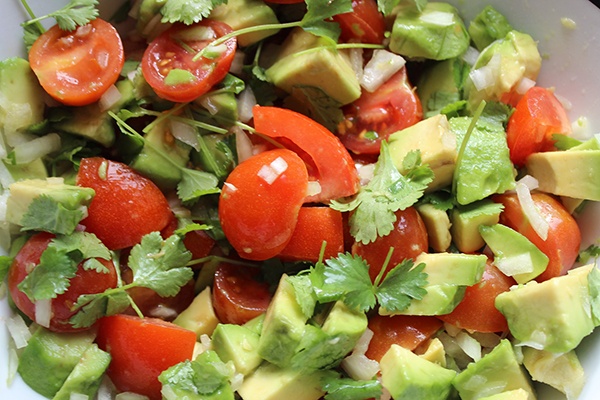
A quesadilla just isn’t complete without a little something extra on top. Again, the options are endless but some favorites to consider are sliced avocado, guacamole, salsa, sour cream, plain Greek yogurt, cilantro and/or lime wedges.
What’s your favorite type of quesadilla?
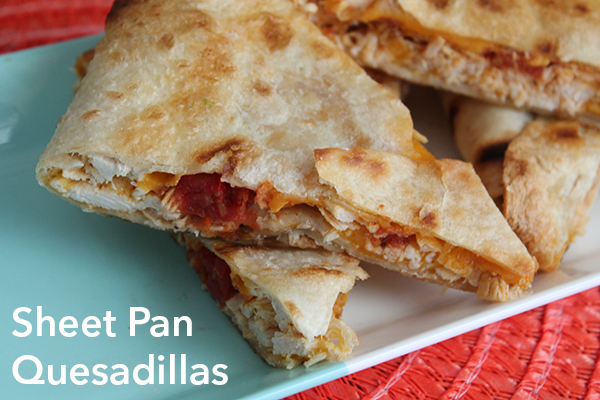
Sheet Pan Quesadillas
Makes 6 Servings
PRINT RECIPE
Ingredients
2 Tbsp butter, melted or olive oil - divided
8 large whole wheat or corn tortillas
2 cups shredded cheddar cheese - divided
1½ lbs chicken, cooked and shredded OR 4 cups shredded rotisserie chicken
2 tsp taco seasoning
1 cup salsa
Optional Fillings: black beans, corn, sliced olives, and/or diced green chiles
Optional Toppings: sliced avocado, lime wedges, sour cream, plain Greek yogurt, salsa, cilantro
Directions
- Pre-heat oven to 425ºF.
- Brush a half sheet pan with 1 Tbsp melted butter or olive oil.
- Arrange 6 tortillas around the perimeter of the sheet pan so that half of each tortilla is hanging over the edge of the pan (2 on each long side and 1 on each end). Place 1 tortilla in the center of the pan so the entire bottom of the sheet pan is covered.
- Sprinkle evenly with 1 cup of shredded cheese and all of the chicken and taco seasoning. Dollop evenly with salsa. Top with additional fillings if desired (beans, corn, olives, green chiles, etc.).Sprinkle with remaining 1 cup of shredded cheese.
- Fold tortillas hanging over the edges in half to cover the filling. Place 1 additional tortilla over the center to cover the filling entirely.
- Brush the top of the tortillas with remaining 1 Tbsp of melted butter or olive oil.
- Place the bottom of a second sheet pan on top of the tortillas and press down firmly to flatten.
- Bake for 20-25 minutes or until tortillas are crispy.
- Remove top sheet pan and slice quesadillas into 6 evenly sized squares and then cut each square in half diagonally to create triangles.
- Add toppings, if desired and serve with a mixed greens salad or other vegetable of choice.
Note: Cooked ground turkey or beef, beans or lentils can be used instead of chicken if desired.